
建站笔记(八)
友链管理
由于友链管理比较简单,本文将一次性直接列出所有接口,再逐个分析,功能分别有:删除、编辑修改、新增
一、友链管理持久层接口
问:友链持久层需要哪些接口?
答:根据友链功能来看,需要最基本的新增、删除、修改、查询
问:光这些接口够了吗?在编辑修改友链的时候,为了方便用户修改,是不是要将待修改的数据信息也传递给修改页面呢,另外,在新增的时候,如果新增相同的友链是不是要作出判断呢?
答:除了增(saveFriendLink)、删(deleteFriendLink)、改(updateFriendLink)、查(listFriendLink)之外,还需要getFriendLink、getFriendLinkByBlogaddress用来编辑修改友链传递数据和做重复判断
在dao包下创建FriendLinkDao接口,代码如下:
package com.cbx.dao;

import com.cbx.entity.FriendLink;
import org.apache.ibatis.annotations.Mapper;
import org.springframework.stereotype.Repository;

import java.util.List;

/**
 * @author cbx
 * @date 2022/3/5
 * @apiNote
 * listFriendLink:查询出友链管理列表
 * saveFriendLink:友链新增
 * getFriendLinkByBlogaddress:在新增友链的时候做重复判断,查询到有相同友链给出提示
 * getFriendLink:编辑修改友链时查询出数据信息并显示在前端页面上
 * deleteFriendLink:删除友链
 */
@Mapper
@Repository
public interface FriendLinkDao {
    //查询友链管理列表
    List<FriendLink> listFriendLink();

    //新增友链
    int saveFriendLink(FriendLink friendLink);

    //新增时,根据网址查询友链,看看是否重复
    FriendLink getFriendLinkByBlogaddress(String blogaddress);

    //编辑时根据id查询友链
    FriendLink getFriendLink(Long id);

    //编辑修改友链
    int updateFriendLink(FriendLink friendLink);

    //删除友链
    void deleteFriendLink(Long id);

}
讲解:
- listFriendLink:查询出友链管理列表
- saveFriendLink:友链新增
- getFriendLinkByBlogaddress:在新增友链的时候做重复判断,查询到有相同友链给出提示
- getFriendLink:编辑修改友链时查询出数据信息并显示在前端页面上
- deleteFriendLink:删除友链
二、友链管理mapper
友链管理的查询语句中,就是根据持久层接口来设计的,比较简单,不做分析,直接给出
在mapper文件夹下创建FriendLinkDao.xml文件,编写SQL,如下:
<?xml version="1.0" encoding="utf-8" ?>
<!DOCTYPE mapper PUBLIC "-//mybatis.org//DTD Mapper 3.0//EN" "http://mybatis.org/dtd/mybatis-3-mapper.dtd" >
<mapper namespace="com.cbx.dao.FriendLinkDao">

    <!--添加友链-->
    <insert id="saveFriendLink" parameterType="com.cbx.entity.FriendLink">
        insert into myblog.t_friend (blogname,blogaddress,pictureaddress,create_time)
        values (#{blogname},#{blogaddress},#{pictureaddress},#{createTime})
    </insert>

    <!--编辑修改友链-->
    <update id="updateFriendLink" parameterType="com.cbx.entity.FriendLink">
        update myblog.t_friend set blogname = #{blogname},blogaddress = #{blogaddress},
        pictureaddress = #{pictureaddress} where id = #{id}
    </update>

    <!--删除友链-->
    <delete id="deleteFriendLink">
        delete from myblog.t_friend where id = #{id}
    </delete>

    <!--查询所有友链-->
    <select id="listFriendLink" resultType="com.cbx.entity.FriendLink">
        select * from myblog.t_friend order by t_friend.create_time desc
    </select>

    <!--根据网址查询友链-->
    <select id="getFriendLinkByBlogaddress" resultType="com.cbx.entity.FriendLink">
        select * from myblog.t_friend f where f.blogaddress = #{blogaddress}
    </select>

    <!--根据id查询友链-->
    <select id="getFriendLink" resultType="com.cbx.entity.FriendLink">
        select * from myblog.t_friend f where f.id = #{id}
    </select>
</mapper>
三、友链管理业务层
业务层接口
这里和持久层接口是一样的,就不做分析,在service包下创建FriendLinkService接口,代码如下:
package com.cbx.service;

import com.cbx.entity.FriendLink;

import java.util.List;

/**
 * @author cbx
 * @date 2022/3/5
 * @apiNote 友链业务层接口
 */
public interface FriendService {
    //查询所有友链
    List<FriendLink> listFriendLink();

    //友链新增
    int saveFriendLink(FriendLink friendLink);

    //根据网址查询友链
    FriendLink getFriendLinkByBlogaddress(String blogaddress);

    //根据id查询友链
    FriendLink getFriendLink(Long id);

    //编辑修改友链
    int updateFriendLink(FriendLink friendLink);

    //删除友链
    void deleteFriendLink(Long id);
}
接口实现类
直接调用持久层接口,不做分析,在Impl包下创建FriendLinkServiceImpl类实现FriendLinkService接口,代码如下:
package com.cbx.service.impl;

import com.cbx.dao.FriendLinkDao;
import com.cbx.entity.FriendLink;
import com.cbx.service.FriendService;
import org.springframework.beans.factory.annotation.Autowired;
import org.springframework.stereotype.Service;
import org.springframework.transaction.annotation.Transactional;

import java.util.List;

/**
 * @author cbx
 * @date 2022/3/5
 * @apiNote
 */
@Service
public class FriendServiceImpl implements FriendService {

    @Autowired
    private FriendLinkDao friendLinkDao;

    @Override
    public List<FriendLink> listFriendLink() {
        return friendLinkDao.listFriendLink();
    }

    @Override
    @Transactional
    public int saveFriendLink(FriendLink friendLink) {
        return friendLinkDao.saveFriendLink(friendLink);
    }

    @Override
    public FriendLink getFriendLinkByBlogaddress(String blogaddress) {
        return friendLinkDao.getFriendLinkByBlogaddress(blogaddress);
    }

    @Override
    public FriendLink getFriendLink(Long id) {
        return friendLinkDao.getFriendLink(id);
    }

    @Override
    @Transactional
    public int updateFriendLink(FriendLink friendLink) {
        return friendLinkDao.updateFriendLink(friendLink);
    }

    @Override
    @Transactional
    public void deleteFriendLink(Long id) {
        friendLinkDao.deleteFriendLink(id);
    }
}
四、友链管理控制器
很多知识点和之前都是重复的,不做讲解,直接给代码:
package com.cbx.controller.admin;

import com.cbx.entity.FriendLink;
import com.cbx.service.FriendService;
import com.github.pagehelper.PageHelper;
import com.github.pagehelper.PageInfo;
import org.springframework.beans.factory.annotation.Autowired;
import org.springframework.stereotype.Controller;
import org.springframework.ui.Model;
import org.springframework.validation.BindingResult;
import org.springframework.web.bind.annotation.*;
import org.springframework.web.servlet.mvc.support.RedirectAttributes;

import javax.validation.Valid;
import java.util.Date;
import java.util.List;

/**
 * @author cbx
 * @date 2022/3/4
 * @apiNote 友链后台管理控制器
 */
@Controller
@RequestMapping("/admin")
public class FriendController {

    @Autowired
    private FriendService friendService;

    //查询所有友链
    @GetMapping("/friendlinks")
    public String friend(Model model, @RequestParam(defaultValue = "1",value = "pageNum")Integer pageNum){
        PageHelper.startPage(pageNum,10);
        List<FriendLink> friendLinks = friendService.listFriendLink();
        PageInfo<FriendLink> pageInfo = new PageInfo<>(friendLinks);
        model.addAttribute("pageInfo",pageInfo);
        return "admin/friendlinks";
    }
    //跳转友链新增页面
    @GetMapping("/friendlinks/input")
    public String input(Model model){
        model.addAttribute("friendlink",new FriendLink());
        return "admin/friendlinks-input";
    }

    //友链新增
    @PostMapping("/friendlinks")
    public String post(@Valid FriendLink friendLink, BindingResult result, RedirectAttributes attributes){
        FriendLink link = friendService.getFriendLinkByBlogaddress(friendLink.getBlogaddress());
        if (link != null){
            attributes.addFlashAttribute("message","不能添加重复的网址");
            return "redirect:/admin/friendlinks/input";
        }

        if (result.hasErrors()){
            return "admin/friendlinks-input";
        }
        friendLink.setCreateTime(new Date());
        int i = friendService.saveFriendLink(friendLink);
        if (i == 0){
            attributes.addFlashAttribute("message","新增失败");
        }else {
            attributes.addFlashAttribute("message","新增成功");
        }
        return "redirect:/admin/friendlinks";
    }

    //跳转友链修改页面
    @GetMapping("/friendlinks/{id}/input")
    public String editInput(@PathVariable Long id,Model model){
        model.addAttribute("friendlink",friendService.getFriendLink(id));
        return "admin/friendlinks-input";
    }

    //编辑修改友链
    @PostMapping("/friendlinks/{id}")
    public String editPost(@Valid FriendLink friendLink,RedirectAttributes attributes){
        int i = friendService.updateFriendLink(friendLink);
        if (i == 0){
            attributes.addFlashAttribute("message","编辑失败");
        }else {
            attributes.addFlashAttribute("message","编辑成功");
        }
        return "redirect:/admin/friendlinks";
    }

    //删除友链
    @GetMapping("/friendlinks/{id}/delete")
    public String delete(@PathVariable Long id,RedirectAttributes attributes){
        friendService.deleteFriendLink(id);
        attributes.addFlashAttribute("message","删除成功");
        return "redirect:/admin/friendlinks";
    }

}
五、前后端交互
- 新增跳转
<a href="#" th:href="@{/admin/friendlinks/input}">
  <button type="button" class="ui teal button m-mobile-wide m-margin-top"><i class="pencil icon"></i>新增</button>
</a>
- 新增提交表单
<form action="#" method="post" th:action="*{id}==null ? @{/admin/friendlinks} : @{/admin/friendlinks/{id}(id=*{id})} " th:object="${friendlink}" class="ui form">
<input type="hidden" name="id" th:value="*{id}">
    <div class=" field">
      <div class="ui left labeled input m-margin-top">
        <label class="ui teal basic label">博客名称</label>
        <input type="text" name="blogname" placeholder="博客名称" th:value="*{blogname}" >
      </div>
      <div class="ui left labeled input m-margin-top">
        <label class="ui teal basic label">博客地址</label>
        <input type="text" name="blogaddress" placeholder="博客地址" th:value="*{blogaddress}" >
      </div>
      <div class="ui left labeled input m-margin-top">
        <label class="ui teal basic label">图片地址</label>
        <input type="text" name="pictureaddress" placeholder="图片地址" th:value="*{pictureaddress}" >
      </div>
    </div>

    <div class="ui error message"></div>
    <div class="ui mini negative message" th:unless="${#strings.isEmpty(message)}" th:text="|提示: ${message}">提示:不能添加重复的友链</div>
    <div class="ui right aligned container">
      <button type="button" class="ui button" onclick="window.history.go(-1)" >返回</button>
      <button class="ui teal submit button">提交</button>
    </div>
</form>
{}的使用:选择表达式很像变量表达式,不过它用一个预先选择的对象来代替上下文变量容器来执行以动态变换容器内容,如下:
先在表单标签获取后台传来的blog对象,然后使用th:value与th:object配合用于表单字段绑定、 属性绑定、集合绑定等。
@{}和${}的结合使用:在a标签的href中直接直接写对应值会导致解析失败
-
错误写法

-

-
编辑删除
<a href="#" th:href="@{/admin/friendlinks/{id}/input(id=${friendlink.id})}" class="ui mini teal basic button">编辑</a>
<a href="#" th:href="@{/admin/friendlinks/{id}/delete(id=${friendlink.id})}" onclick="return confirm('确定要删除该友链吗?三思啊! 删了可就没了!')" class="ui mini red basic button">删除</a>
- 查询友链列表
<tr align="center" th:each="friendlink,iterStat : ${pageInfo.list}">
    <td th:text="${iterStat.count}">1</td>
    <td th:text="${friendlink.blogname}">くりやまさん</td>
    <td th:text="${friendlink.blogaddress}">http://120.25.193.163</td>
    <td th:text="${friendlink.pictureaddress}">http://120.25.193.163</td>
    <td th:text="${#dates.format(friendlink.createTime,'yyyy-MM-dd HH:mm')}">2022-03-03 00:00</td>
    <!--th:text="${#dates.format(message.createTime,'yyyy-MM-dd HH:mm')}"-->
    <td>
      <a href="#" th:href="@{/admin/friendlinks/{id}/input(id=${friendlink.id})}" class="ui mini teal basic button">编辑</a>
      <a href="#" th:href="@{/admin/friendlinks/{id}/delete(id=${friendlink.id})}" onclick="return confirm('确定要删除该友链吗?三思啊! 删了可就没了!')" class="ui mini red basic button">删除</a>
    </td>
</tr>
- 分页查询
<div class="ui inverted divided stackable grid">
    <div class="three wide column" align="center">
      <a class="item" th:href="@{/admin/friendlinks(pageNum=${pageInfo.hasPreviousPage}?${pageInfo.prePage}:1)}" th:unless="${pageInfo.isFirstPage}">上一页</a>
    </div>

    <div class="ten wide column" align="center">
      <p>第 <span th:text="${pageInfo.pageNum}"></span> 页,共 <span th:text="${pageInfo.pages}"></span> 页,有 <span th:text="${pageInfo.total}"></span> 个友链</p>
    </div>

    <div class="three wide column" align="center">
      <a class="item" th:href="@{/admin/friendlinks(pageNum=${pageInfo.hasNextPage}?${pageInfo.nextPage}:${pageInfo.pages})}" th:unless="${pageInfo.isLastPage}">下一页</a>
    </div>
</div>
六、运行访问
运行项目,访问 http://localhost:8080/admin, 登录后点击友链管理,可以对友链进行增、删、改、查
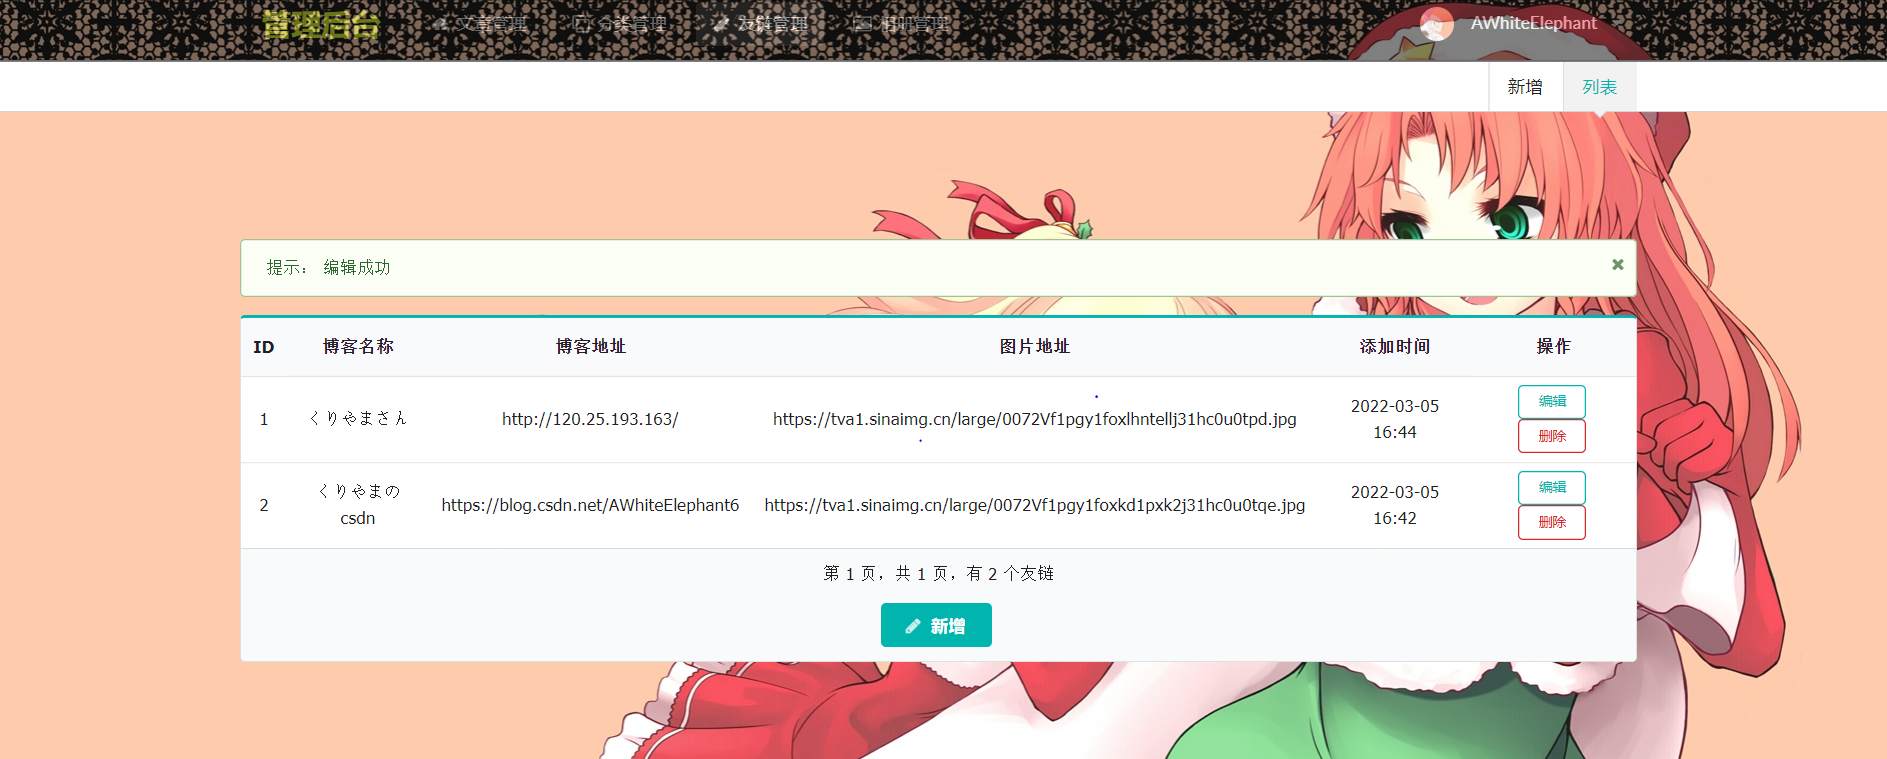
至此,SpringBoot搭建个人博客的友链管理开发完成。


评论